Interface and Application Programming
Individual assignment:
Write an application that interfaces a user with an input &/or output device that you made
For this week's project, I've planned to create a web interface that will communicate with the master board via web serial. The master board will then relay the data to the slave boards. From my last week assignment. click here for documentation
Initially, I planned to create a web interface using HTML and connect it with the Quentrous board. This setup would enable me to control the LED on the board, turning it on and off remotely.
This has helped me grasp the fundamentals of this week's assignment.
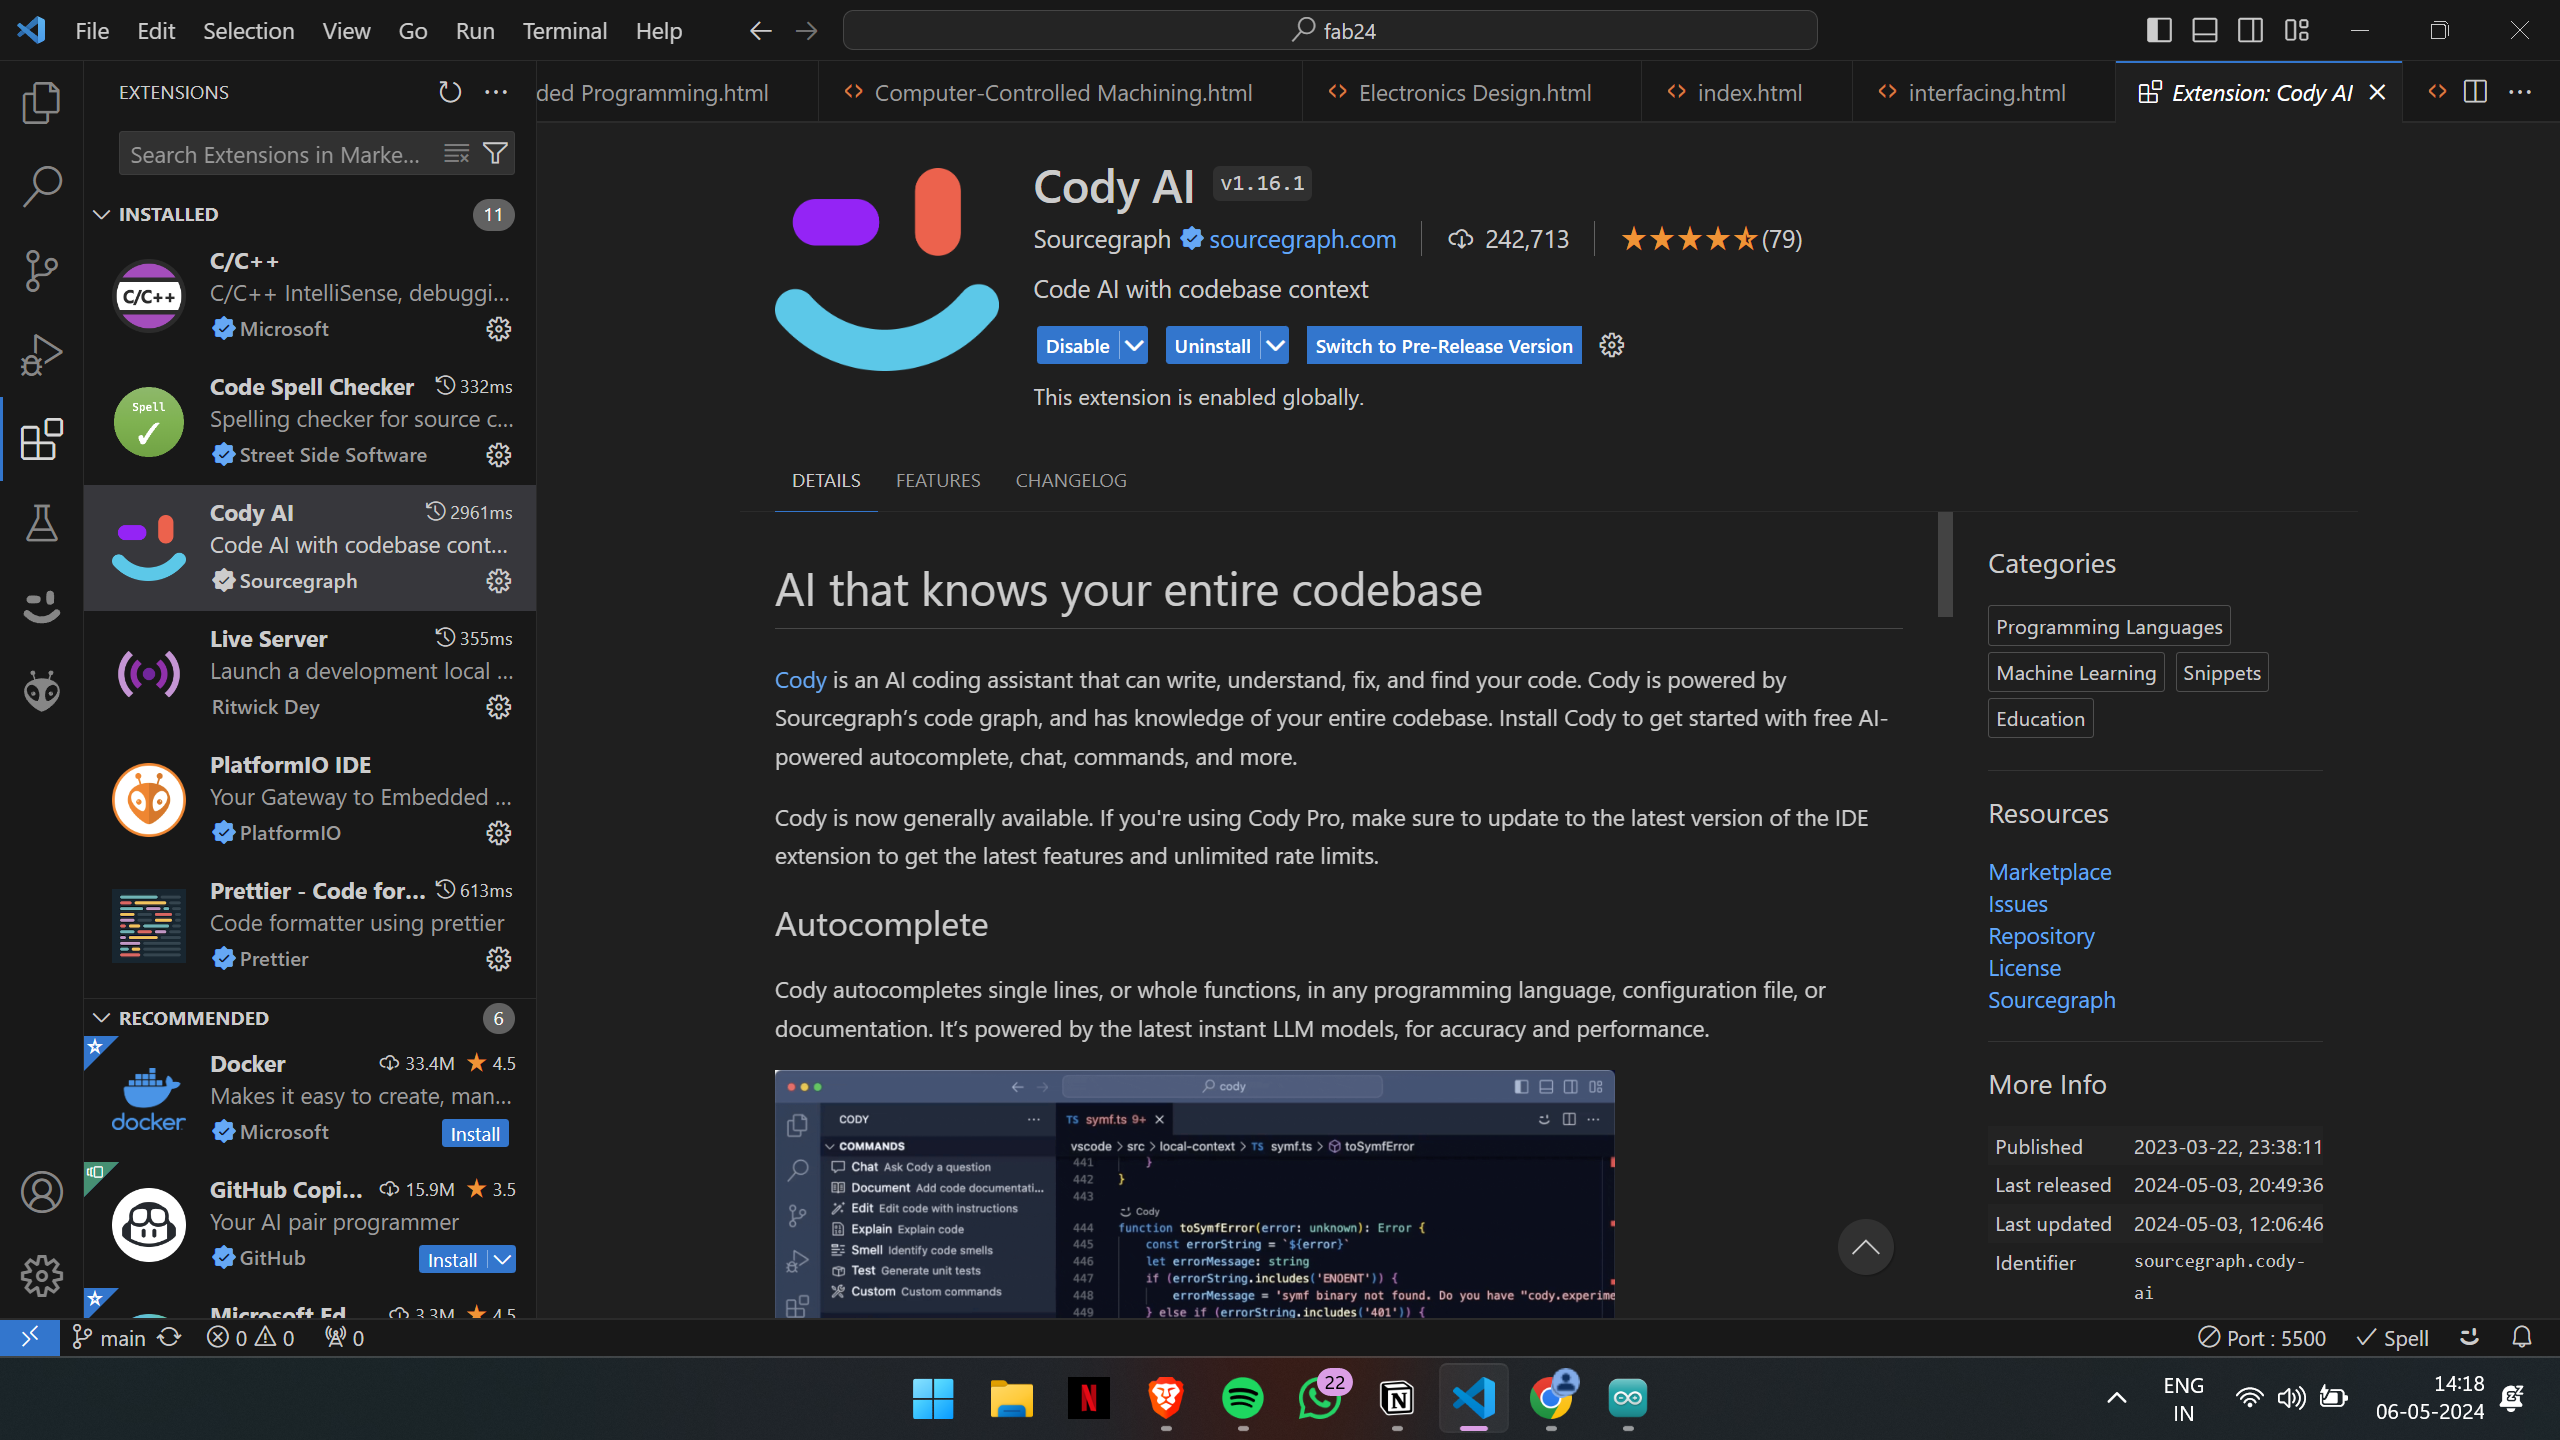
Since I'm not proficient in web development and programming, I decided to seek assistance from the "CODY AI" for help.
Cody
is an AI coding assistant who can write, understand, fix, and find your code. Cody is powered by Sourcegraph’s code graph and knows your entire codebase. Install Cody to get started with free AI-powered autocomplete, chat, commands, and more.
This is the code that has been generated with the help of CODY AI for the web interface.
<!DOCTYPE html>
<!DOCTYPE html>
<html>
  <head>
    <title>Web Page with Buttons</title>
    <style>
      body {
        font-family: Arial, sans-serif;
        background-color: #f2f2f2;
        display: flex;
        flex-direction: column;
        justify-content: center;
        align-items: center;
        height: 100vh;
        margin: 0;
      }
      h1 {
        text-align: center;
      }
      button {
        padding: 10px 20px;
        font-size: 16px;
        margin: 10px;
        background-color: green;
        color: white;
        border: none;
        border-radius: 4px;
        cursor: pointer;
      }
      button:hover {
        background-color: #45a049;
      }
      button:active {
        background-color: red;
      }
      #onOffButton.on {
        background-color: red;
      }
      #onOffButton.off {
        background-color: green;
      }
    </style>
  </head>
  <body>
    <h1>LED Control</h1>
      <button id="connectButton">connect</button>
      <button id="onOffButton" class="off">OFF</button>
    </div>
    <div class="textarea">
      <textarea name="textarea" id="serial" cols="40" rows="10"></textarea>
  </div>
    <script>
      let port;
      let receivedText = '';
      const onOffButton = document.getElementById("onOffButton");
      let isOn = false;
      onOffButton.addEventListener("click", () => {
        isOn = !isOn;
        onOffButton.textContent = isOn ? "ON" : "OFF";
        onOffButton.classList.toggle("on", isOn);
        onOffButton.classList.toggle("off", !isOn);
      });

      document.getElementById("connectButton").addEventListener("click", async () => {
          port = await navigator.serial.requestPort();
          await port.open({ baudRate: 9600 });
          const reader = port.readable.getReader();

            const processMsg = async () => {
                const decoder = new TextDecoder();
                const { value, done } = await reader.read();
                if (!done) {
                    receivedText += decoder.decode(value);
                    document.getElementById('serial').value = receivedText;
                    processMsg();
                } else {
                    reader.releaseLock();
                }
            }
            processMsg();


        });
        document.getElementById('onOffButton').addEventListener('click', async () => {
                const encoder = new TextEncoder()
                const writer = port.writable.getWriter();
                const dataToSend = isOn ? '1' : '0';
                // isOn = !isOn;
                writer.write(encoder.encode(dataToSend)).then(() => {
                    console.log("Sent: " + dataToSend);
                });
                writer.releaseLock();
            });
    </script>
  </body>
</html>
</html>
This is how the web interface looks
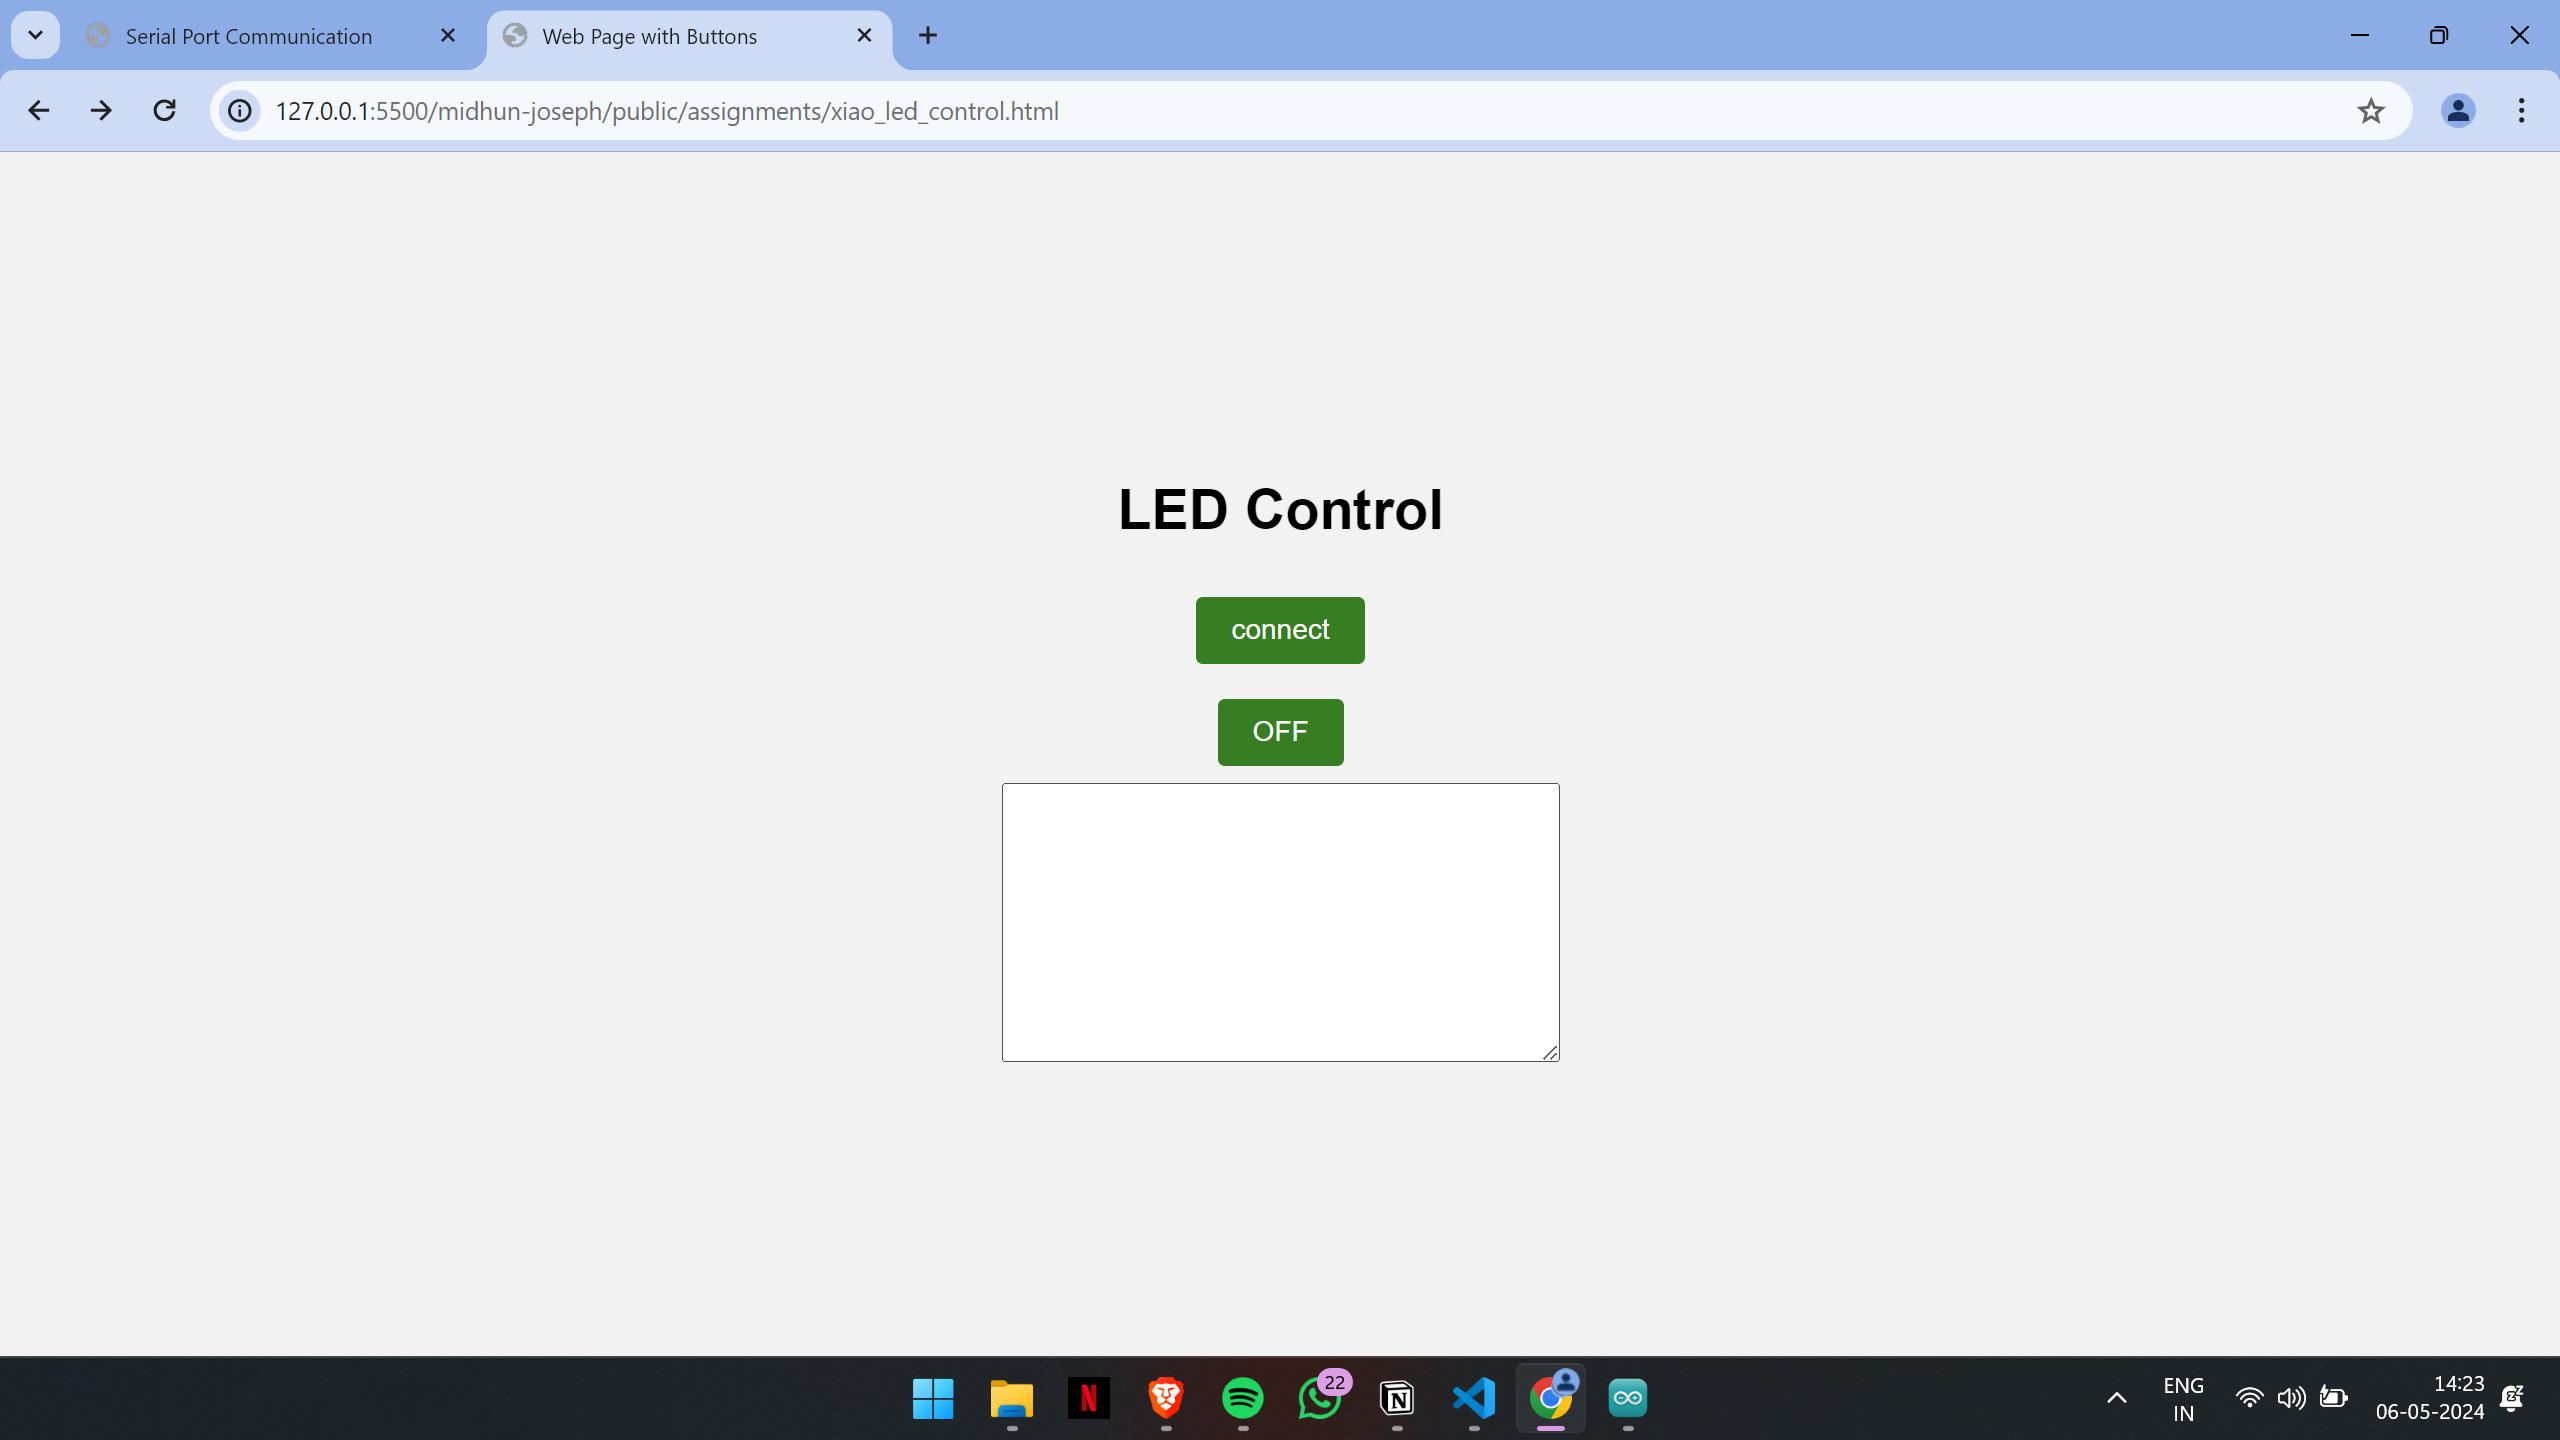
click her for the webapp click here:
Then, I generated the code for the Quentrous board to blink the LED and uploaded it to the Quentrous board.
int LedPin = 1;

void setup()
{
  pinMode(LedPin,OUTPUT);
  Serial.begin(9600);
}
void loop()
{
  char charater = Serial.read();
  if (charater == '1')
  {
    digitalWrite(LedPin, HIGH);
      Serial.println("The LED is now ON");
  }
  else if(charater =='0')
   {
      digitalWrite(LedPin, LOW);
      Serial.println("The LED is now OFF");
    }
}
Code Explanation
-
Variable Declaration
:
int LedPin = 1;This line declares a variable
LedPinand assigns it the value1, indicating that the LED is connected to pin 1 on the Arduino board.
-
Setup Function
:
void setup() { pinMode(LedPin, OUTPUT); Serial.begin(9600); }-
pinMode(LedPin, OUTPUT);: Configures pin 1 as an output pin, allowing it to control the LED.
-
Serial.begin(9600);: Initializes serial communication at a baud rate of 9600 bits per second. This allows the Arduino to communicate with the computer via the USB port.
-
-
Loop Function
:
void loop() { char charater = Serial.read(); if (charater == '1') { digitalWrite(LedPin, HIGH); Serial.println("The LED is now ON"); } else if (charater == '0') { digitalWrite(LedPin, LOW); Serial.println("The LED is now OFF"); } }-
char charater = Serial.read();: Reads the next available byte of incoming serial data and stores it in thecharatervariable. If no data is available,Serial.read()returns1.
-
if (charater == '1'): Checks if the received character is '1'.-
digitalWrite(LedPin, HIGH);: Turns on the LED by setting pin 1 to a high voltage level.
-
Serial.println("The LED is now ON");: Sends a message to the serial monitor indicating that the LED is on.
-
-
else if (charater == '0'): Checks if the received character is '0'.-
digitalWrite(LedPin, LOW);: Turns off the LED by setting pin 1 to a low voltage level.
-
Serial.println("The LED is now OFF");: Sends a message to the serial monitor indicating that the LED is off.
-
-
Here is the video output doing the functionality
Now, I've begun developing the web app to communicate with the SAMD board that I created in the previous week.
I've started designing the web app according to my requirements with the help of CODY AI.
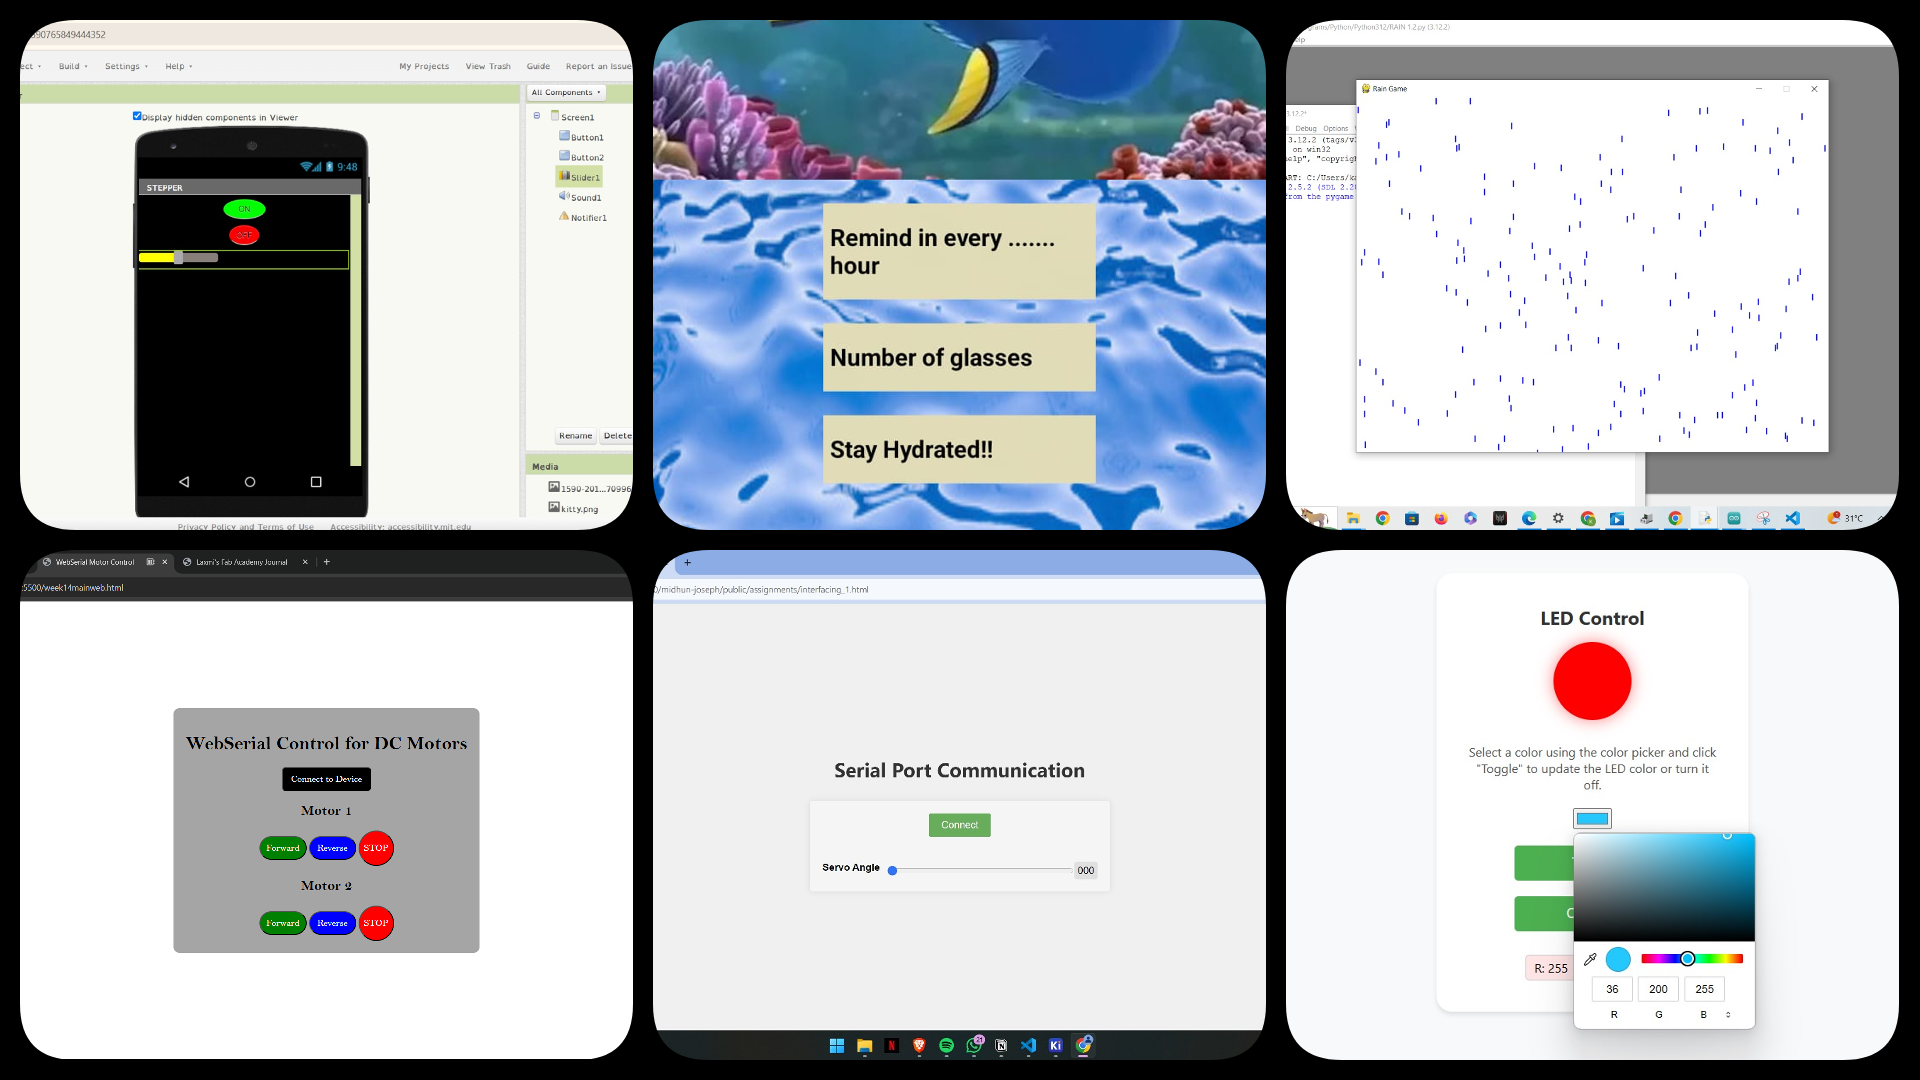
this was my concept for the web app
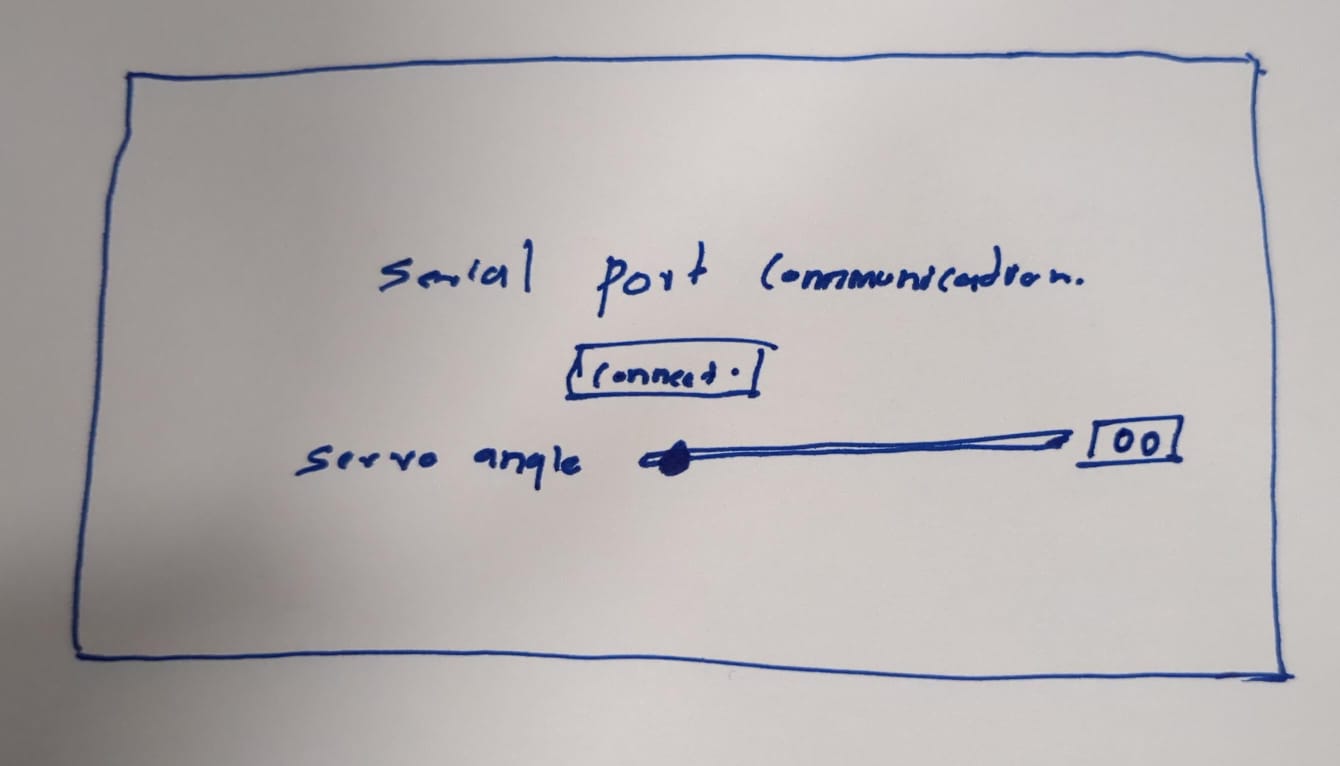
This the prompt that i have given
Write an HTML page with embedded JavaScript to handle serial port communication. The page should have the following features:
- A "Connect" button that changes to "Disconnect" once connected.
- A slider to adjust the servo angle from 0 to 180 degrees.
- The current angle should be displayed next to the slider.
- Use the Web Serial API for serial communication.
- Include CSS for styling the page and the elements.
Here are the requirements in more detail:
- When the "Connect" button is clicked, it should open a serial connection at 115200 baud rate and change the button text to "Disconnect".
- When connected, the button should have a red background; otherwise, it should be green.
- When the slider value changes, send the value to the serial port in a 3-digit format, followed by a newline character.
- Display the current angle value next to the slider.
- Add basic styling to center the elements on the page and make it visually appealing.
And here is the result :
<!DOCTYPE html>
<html>

<head>
    <title>Serial Port Communication</title>
    <style>
        #connectButton {
            background-color: green;
            color: white;
            padding: 10px 20px;
            border: none;
            cursor: pointer;
            transition: background-color 0.3s ease;
        }

        #connectButton.connected {
            background-color: red;
        }

        body {
            display: flex;
            flex-direction: column;
            justify-content: center;
            align-items: center;
            height: 100vh;
            margin: 0;
            background-color: #f0f0f0;
            font-family: Arial, sans-serif;
        }

        h1 {
            color: #333;
            text-align: center;
            margin-bottom: 30px;
        }

        .control-panel {
            background-color: white;
            padding: 20px;
            border-radius: 10px;
            box-shadow: 0 0 10px rgba(0, 0, 0, 0.1);
            display: flex;
            flex-direction: column;
            align-items: center;
            gap: 20px;
        }

        label {
            font-weight: bold;
            margin-bottom: 10px;
            display: block;
        }

        #dataSlider {
            width: 300px;
        }
    </style>
</head>

<body>
    <h1 style="
        text-align: center;
        color: #333;
        font-family: 'Segoe UI', Tahoma, Geneva, Verdana, sans-serif;
      ">
        Serial Port Communication
    </h1>
    <div class="control-panel" style="
        max-width: 600px;
        margin: 0 auto;
        padding: 20px;
        background-color: #f5f5f5;
        border-radius: 5px;
        box-shadow: 0 0 10px rgba(0, 0, 0, 0.1);
      ">
        <button id="connectButton" style="
          display: block;
          margin: 0 auto 20px;
          padding: 10px 20px;
          font-size: 16px;
          background-color: #4caf50;
          color: white;
          border: none;
          border-radius: 4px;
          cursor: pointer;
        ">
            Connect
        </button>
        <div style="display: flex; align-items: center">
            <label for="dataSlider" style="font-weight: bold; margin-right: 10px">Servo Angle</label>
            <input type="range" id="dataSlider" min="0" max="180" value="0" style="flex-grow: 1" />
            <span id="currentAngleDisplay"
                style="padding: 5px; background-color: #e0e0e0; border-radius: 3px">000</span>
        </div>
    </div>

    <script>
        const connectButton = document.getElementById("connectButton");
        const dataSlider = document.getElementById("dataSlider");
        const currentAngleDisplay = document.getElementById(
            "currentAngleDisplay"
        );
        let serialPort;
        let writer;
        let reader;

        connectButton.addEventListener("click", async () => {
            if (connectButton.classList.contains("connected")) {
                try {
                    await writer.releaseLock(); // Release the writer lock before closing the port
                    await reader.releaseLock(); // Release the reader lock before closing the port
                    await serialPort.close();
                    writer = null;
                    reader = null;
                    serialPort = null; // Set serialPort to null after closing
                    connectButton.classList.remove("connected");
                    connectButton.textContent = "Connect";
                } catch (error) {
                    console.error("Error closing serial port:", error);
                }
            } else {
                try {
                    serialPort = await navigator.serial.requestPort();
                    await serialPort.open({ baudRate: 115200 });
                    writer = serialPort.writable.getWriter();
                    reader = serialPort.readable.getReader();
                    connectButton.classList.add("connected");
                    connectButton.textContent = "Disconnect";
                    sendData();
                    // readData();
                } catch (error) {
                    console.error("Error opening serial port:", error);
                }
            }
        });

        dataSlider.addEventListener("input", () => {
            sendData(dataSlider.value);
            currentAngleDisplay.textContent = dataSlider.value.padStart(3, "0");
        });

        function sendData(value = dataSlider.value) {
            const encoder = new TextEncoder()
            if (writer) {

                value = value.toString().padStart(3, "0");

                writer
                    .write(encoder.encode(value))
                    .then(() => {
                        console.log("Sent: " + value);
                    });
                const end = '\n';
                writer.write(encoder.encode(end));

                   ;
            }
        }


    </script>
</body>

</html>
This is how the web interface appears.
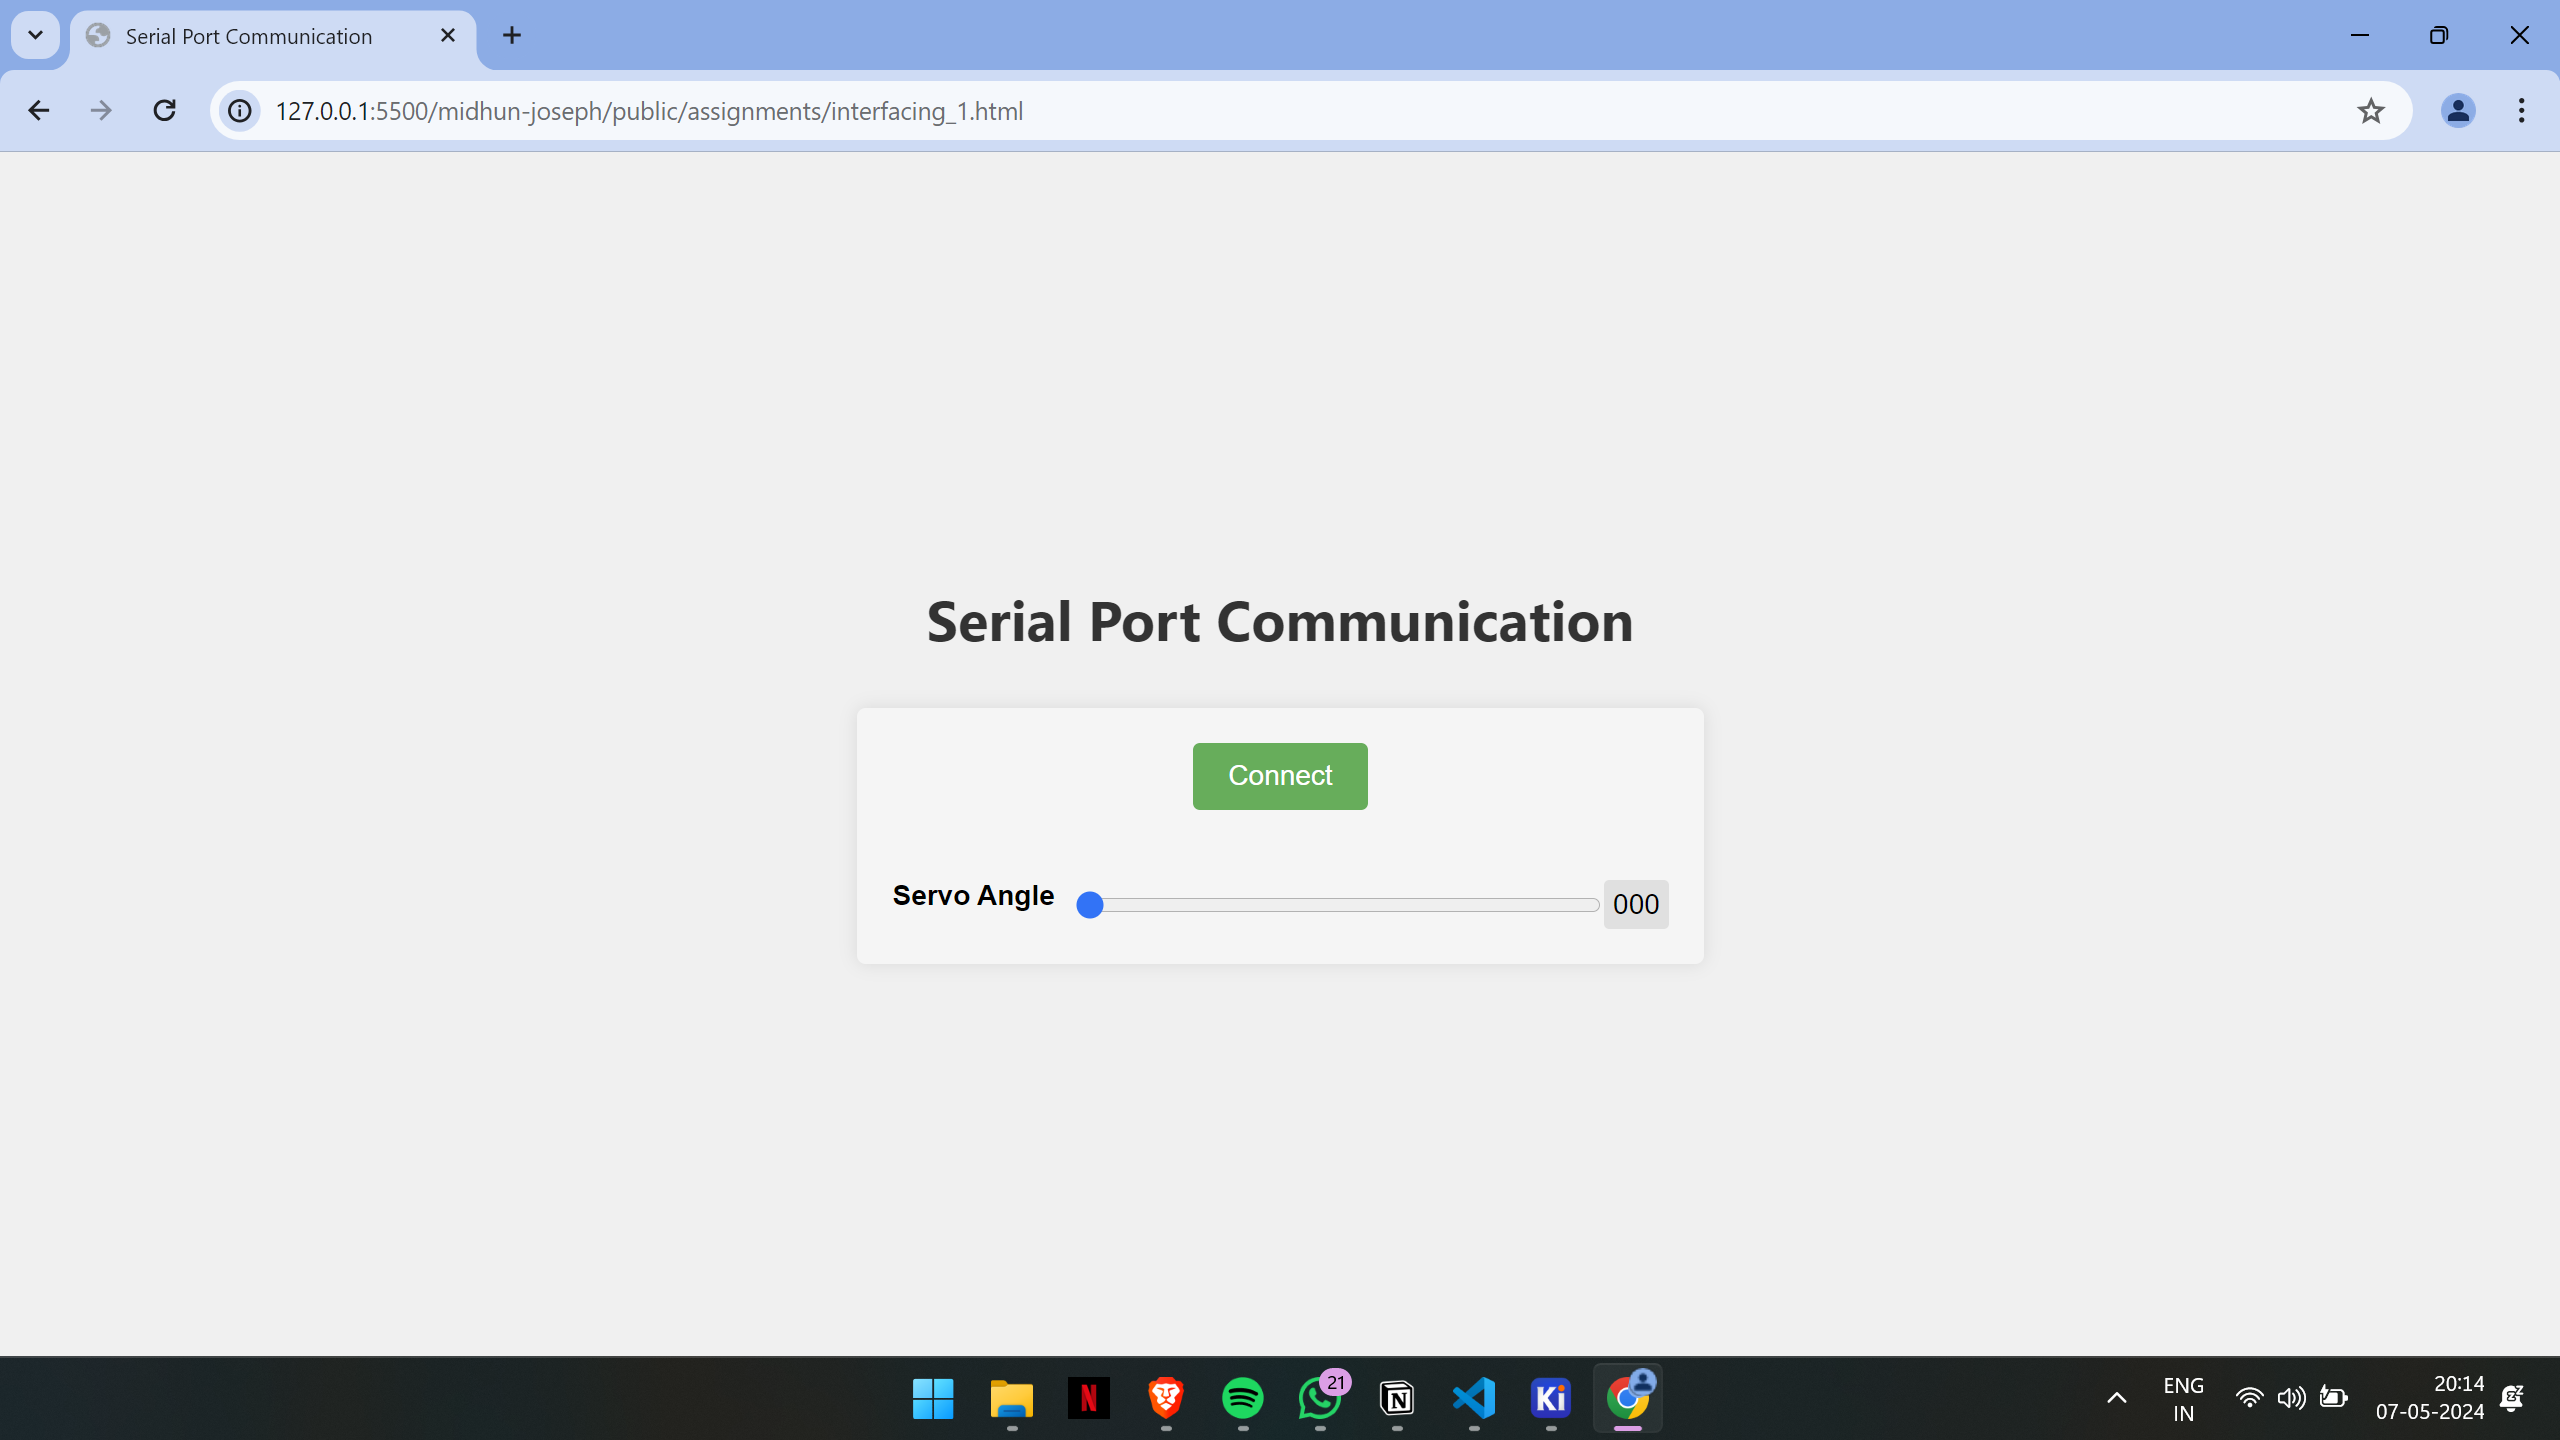
Next, I uploaded the code to the SAMD11 board, which I created during the Electronics Design week. This board includes the servo motor attachment.
#define SERVO_PIN 4
String data = "";

void setup() {
  Serial.begin(115200);
  pinMode(SERVO_PIN, OUTPUT);
}

void loop() {
  if (Serial.available()) {
    char digit = Serial.read();

    if (digit == '\n') {
      Serial.println(data);
      int servoAngle = (data[0] - 48) * 100 + (data[1] - 48) * 10 + (data[2] - 48);
      Serial.println(servoAngle);
      servoPulse(SERVO_PIN, servoAngle);

      data = "";
    } else {
      data = data + digit;
    }
  }
}

// Function to control the servo motor
void servoPulse(int servo, int angle) {
  int pwm = (angle * 11) + 500;
  digitalWrite(servo, HIGH);
  delayMicroseconds(pwm);
  digitalWrite(servo, LOW);
  delay(15);
}
Code Explanation
-
Definitions and Variable Declarations
:
#define SERVO_PIN 4 String data = "";-
#define SERVO_PIN 4: Defines a constantSERVO_PINrepresenting the pin number to which the servo motor is connected.
-
String data = "";: Declares a string variabledatato store the incoming serial data.
-
-
Setup Function
:
void setup() { Serial.begin(115200); pinMode(SERVO_PIN, OUTPUT); }-
Serial.begin(115200);: Initializes serial communication with a baud rate of 115200.
-
pinMode(SERVO_PIN, OUTPUT);: Configures the servo pin as an output.
-
-
Loop Function
:
void loop() { if (Serial.available()) { char digit = Serial.read(); if (digit == '\n') { Serial.println(data); int servoAngle = (data[0] - 48) * 100 + (data[1] - 48) * 10 + (data[2] - 48); Serial.println(servoAngle); servoPulse(SERVO_PIN, servoAngle); data = ""; } else { data = data + digit; } }-
if (Serial.available()): Checks if data is available to read from the serial port.
-
char digit = Serial.read();: Reads the incoming byte from the serial port.
-
if (digit == '\n'): Checks if the incoming byte is a newline character, indicating the end of the input data.-
Serial.println(data);: Prints the received data to the serial monitor.
-
Converts the received data (which represents the servo angle) from a string to an integer. The ASCII value of '0' is 48, so subtracting 48 converts the character to its corresponding integer value.
int servoAngle = (data[0] - 48) * 100 + (data[1] - 48) * 10 + (data[2] - 48);
-
Serial.println(servoAngle);: Prints the servo angle to the serial monitor.
-
servoPulse(SERVO_PIN, servoAngle);: Calls theservoPulsefunction to control the servo motor.
-
data = "";: Clears thedatastring for the next input.
-
-
else: If the incoming byte is not a newline character, it is appended to thedatastring.
-
-
servoPulse Function
:
void servoPulse(int servo, int angle) { int pwm = (angle * 11) + 500; digitalWrite(servo, HIGH); delayMicroseconds(pwm); digitalWrite(servo, LOW); delay(15); }-
int pwm = (angle * 11) + 500;: Converts the servo angle to a pulse width in microseconds. This conversion formula is specific to the servo being used and might need adjustment based on the servo specifications.
-
digitalWrite(servo, HIGH);: Sets the servo pin high to start the pulse.
-
delayMicroseconds(pwm);: Waits for the calculated pulse width duration.
-
digitalWrite(servo, LOW);: Sets the servo pin low to end the pulse.
-
delay(15);: Waits for 15 milliseconds to allow the servo to move to the new position. This is the typical refresh cycle duration for most servos.
-
After completing both tasks, I achieved the outcome I was expecting.
click her for the webapp click here:
Group assignment: click here: compare as many tool options as possible